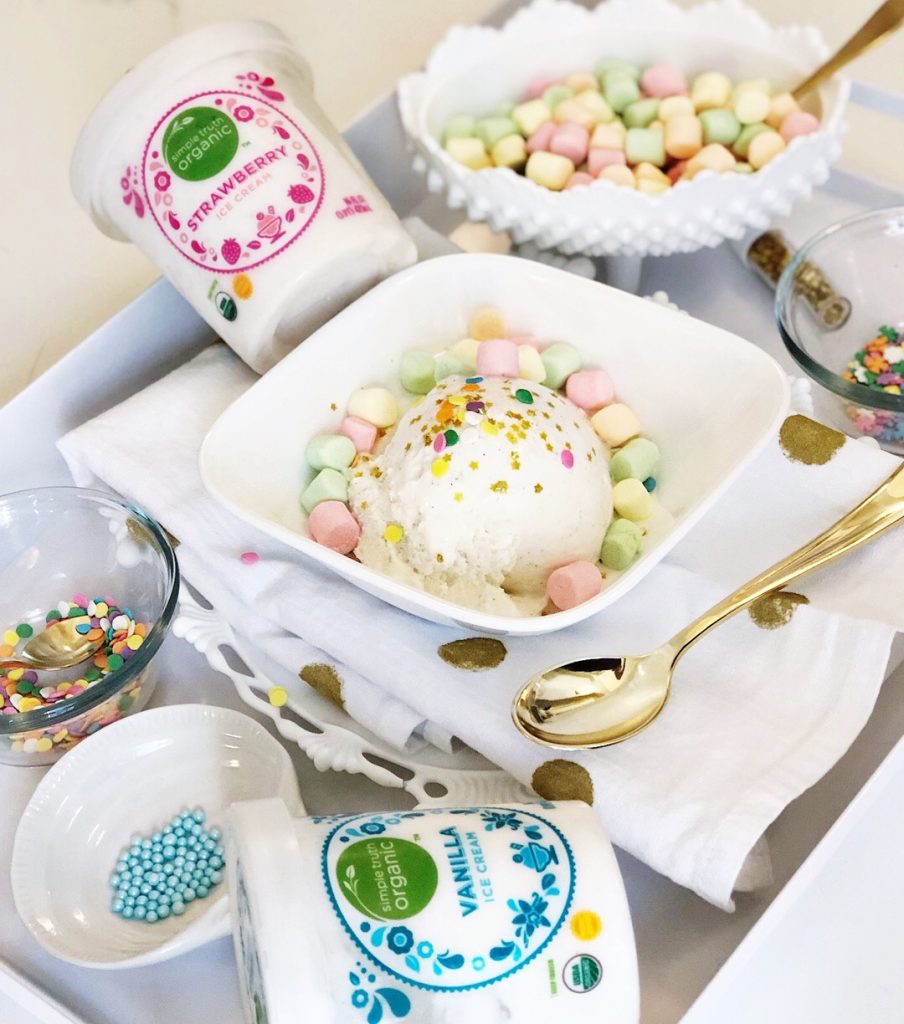
When Simple Truth asked us to try out some of their goodies with some crrraazy coupon deals, I really considered making a salad. Really I thought it through down to the dressing….but not for long. I found myself in the frozen food aisle, staring at the cutest little containers of organic ice cream, and I knew I needed to change plans.
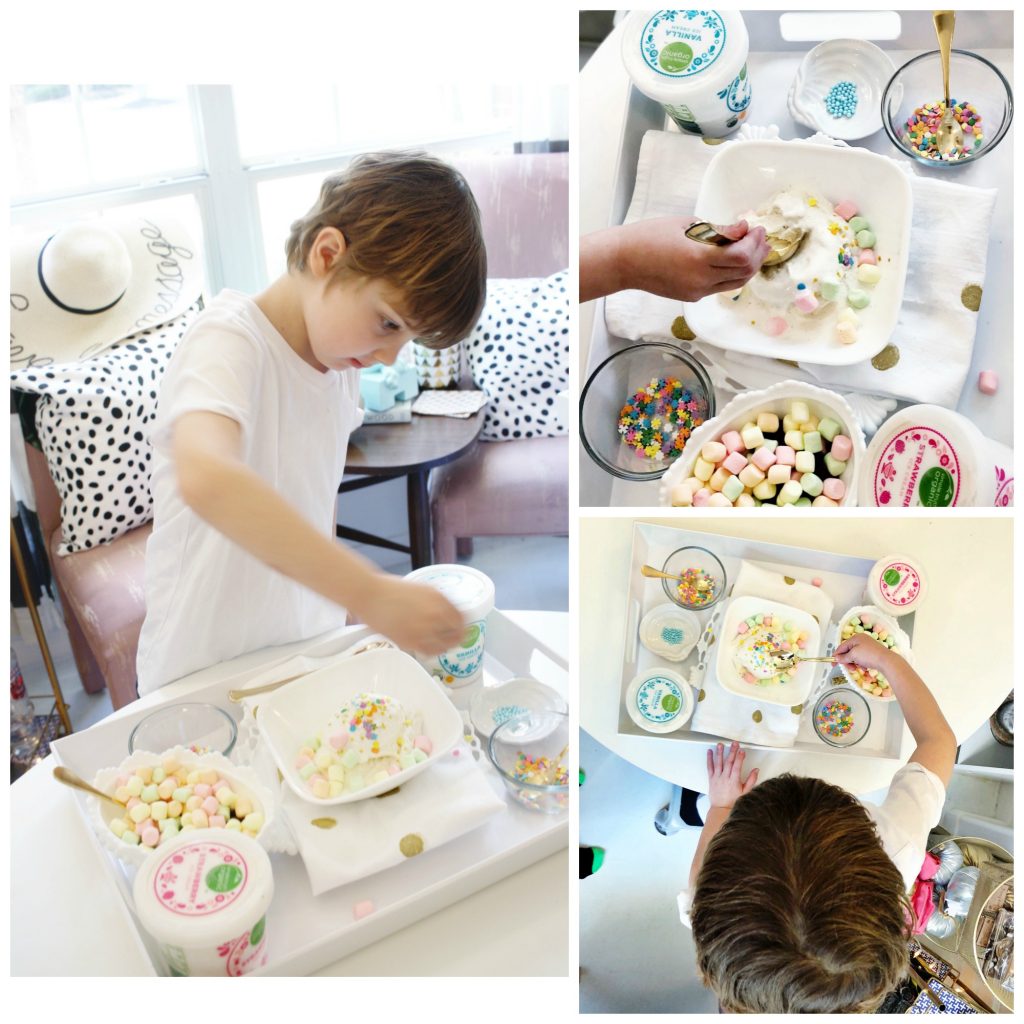
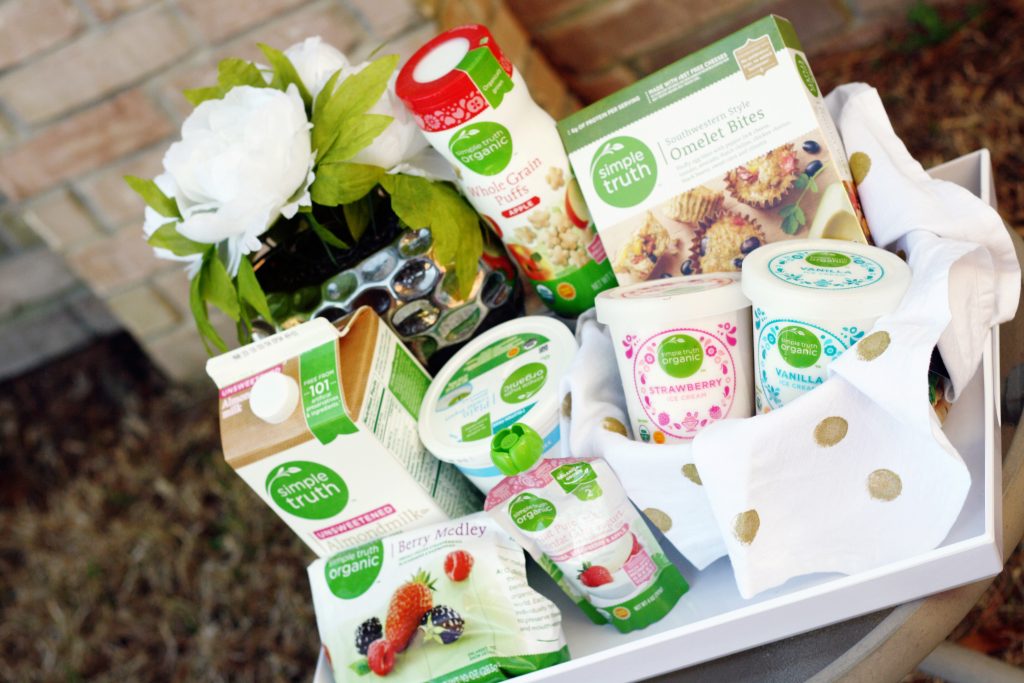
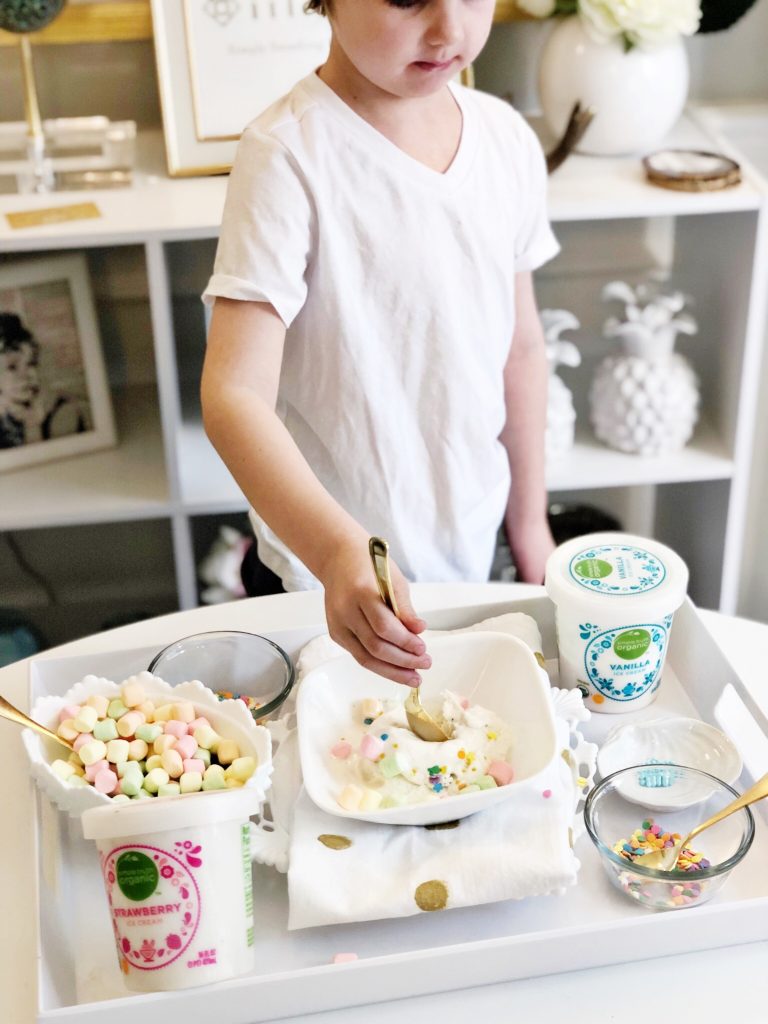
So we had the cutest ice cream party methinks the world has ever seen. We tried Simple Truth’s Strawberry and Vanilla, and they were both scrumptious. I ended up eating the vanilla straight out of the container. And the pouches, Arlo cannot get enough of their Greek Yogurt.
Disclosure: We received samples from Simple Truth Organics in order to share our opinion about their products, but this isn’t a sponsored post. All opinions are our own.
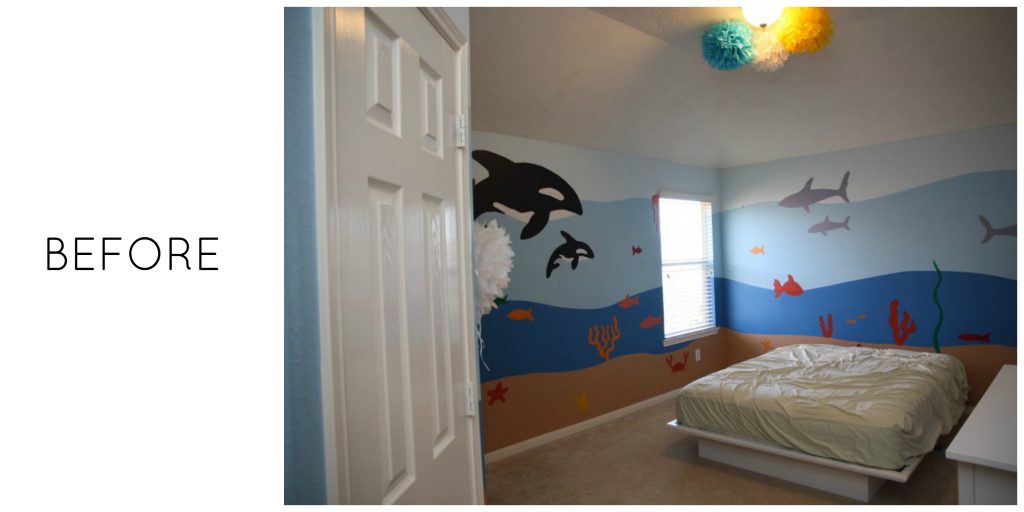
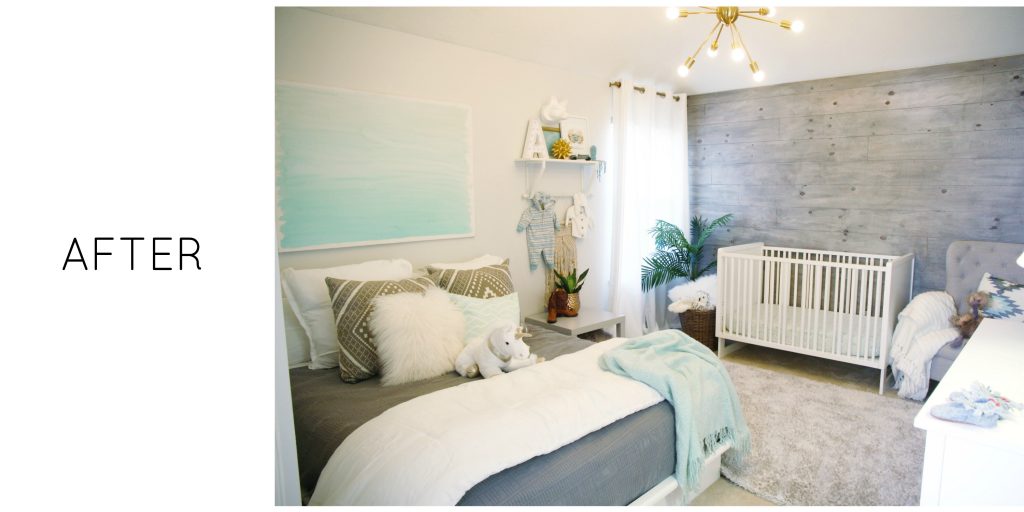
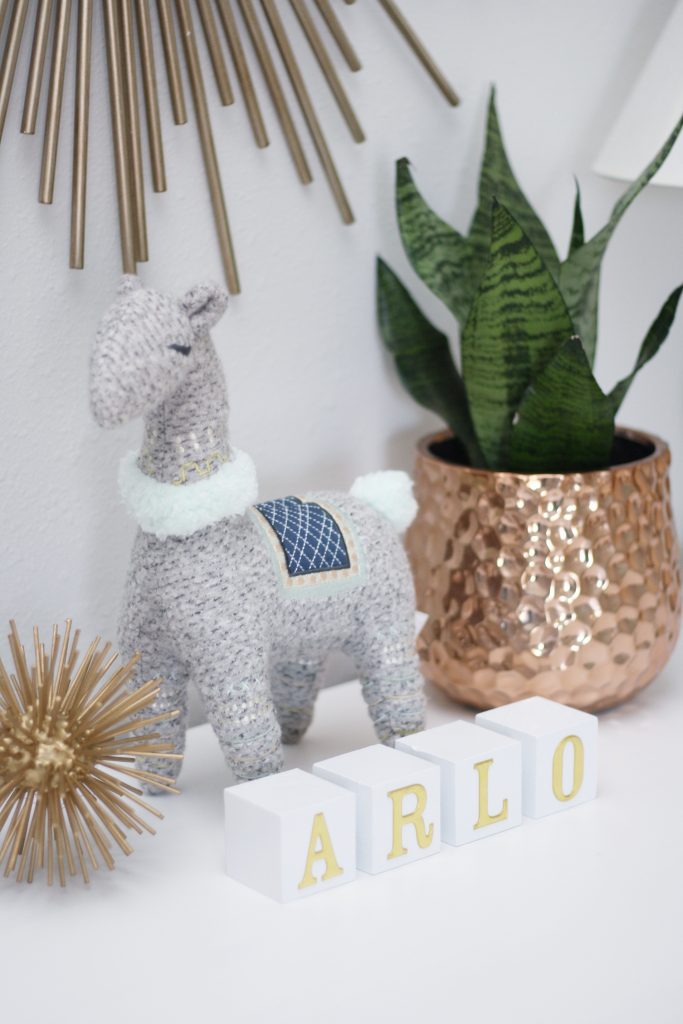
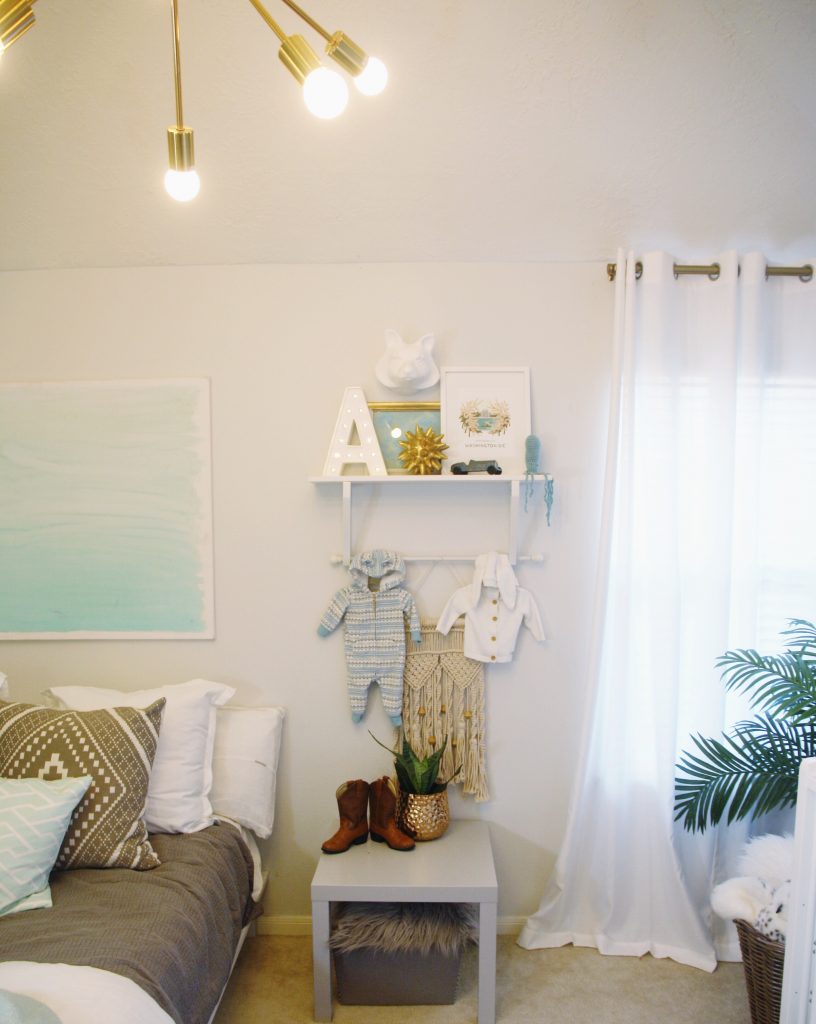
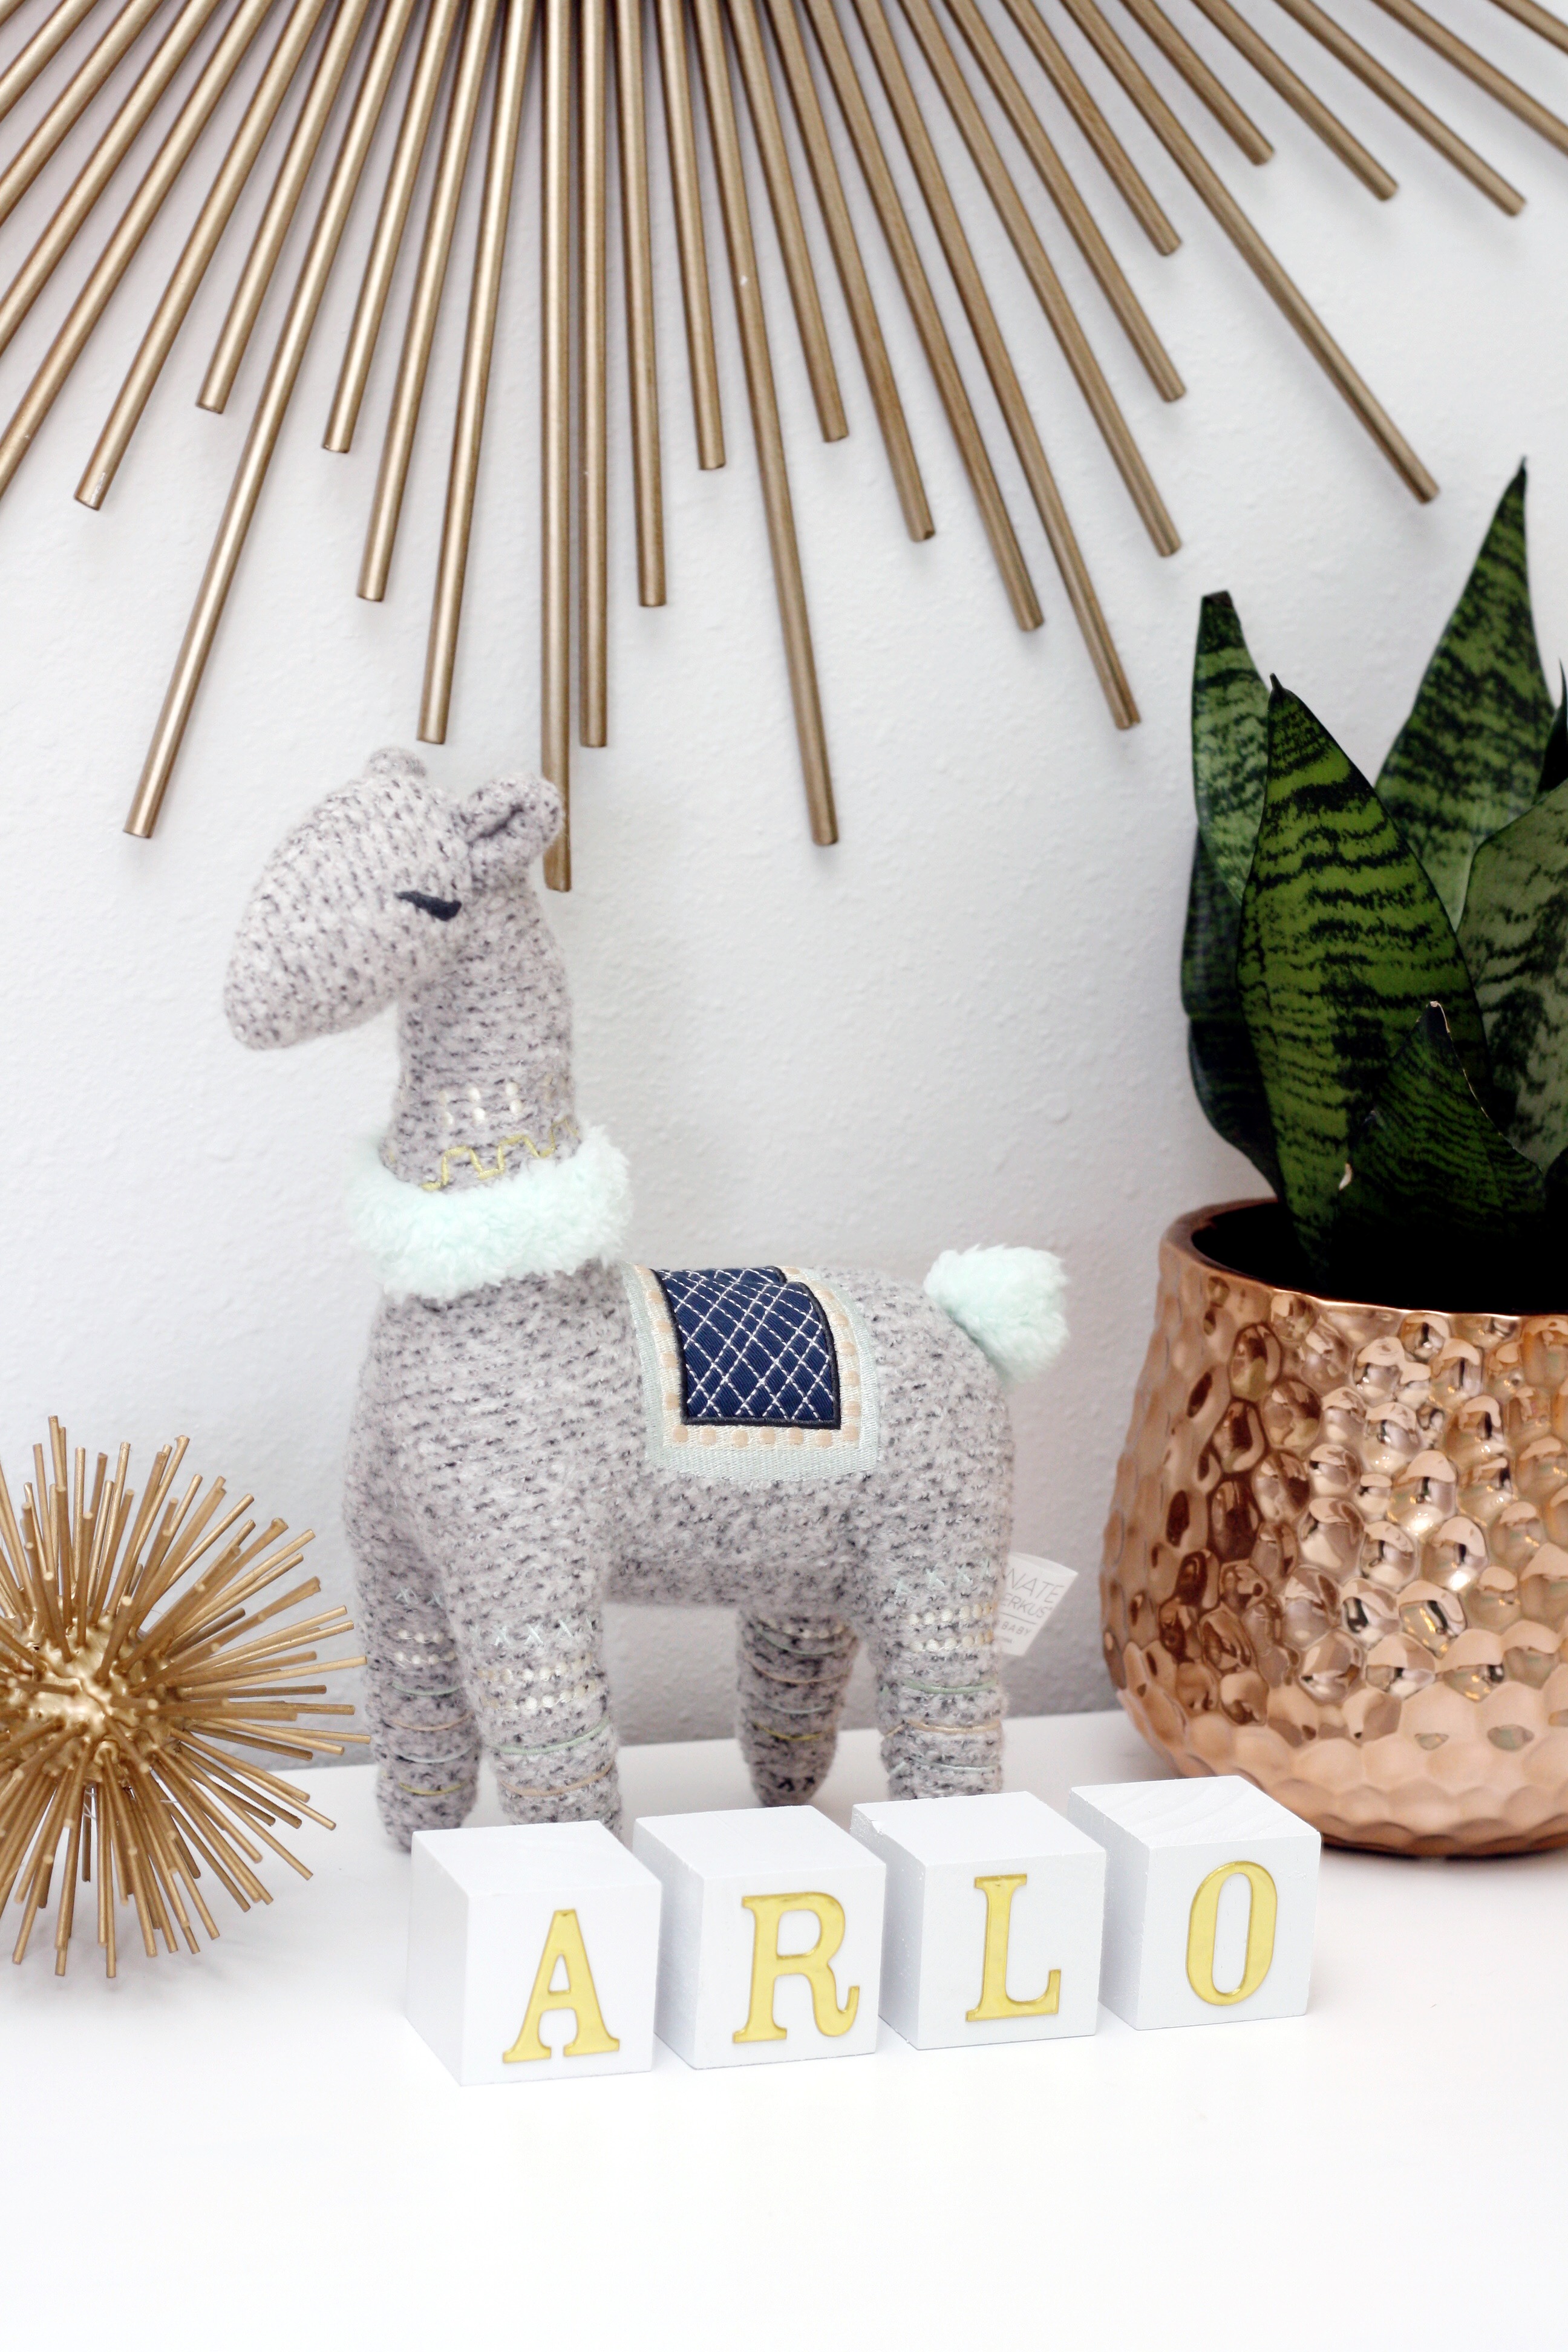
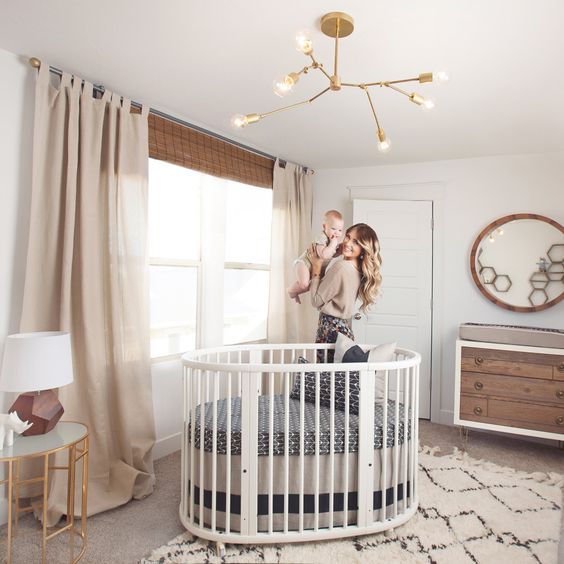
Listen, I have no problem with traditional boy nurseries in navy blues, and masculine wood, but in my opinion, baby boys can be FABULOUS too. Which is why, we decided to get a little crrrazy with Arlo’s nursery. So we added lots of coppery gold accents in the sputnik chandy, shimmery copper jazz pots to hold babies first succulent, little dashes of blush pink and pale minty greens, and of course a white and glittery gold unicorn. Lets see how far we’ve come, shall we? From under the sea nightmare….
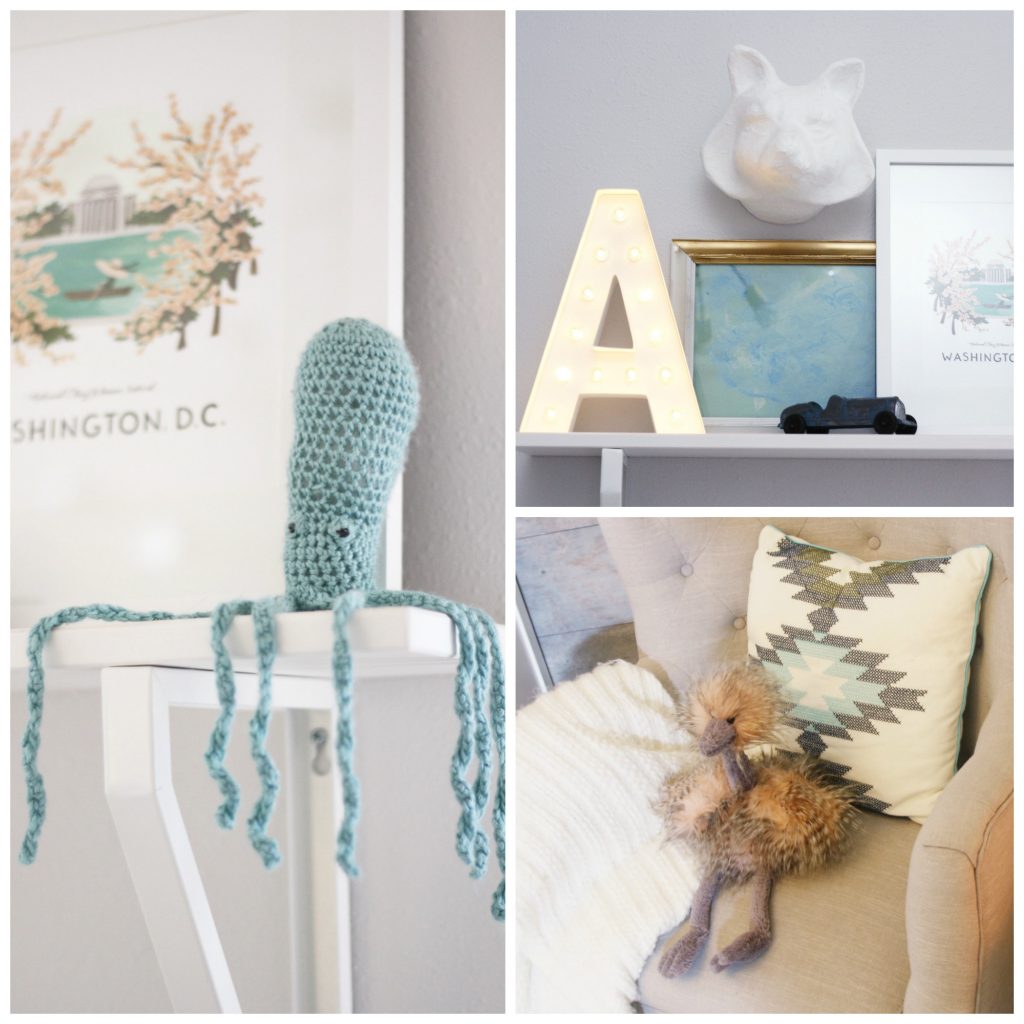
Just a few little teasers before the reveal next week. Something tells me, I may have completely restyled these again, but as of now here’s where we stand:)
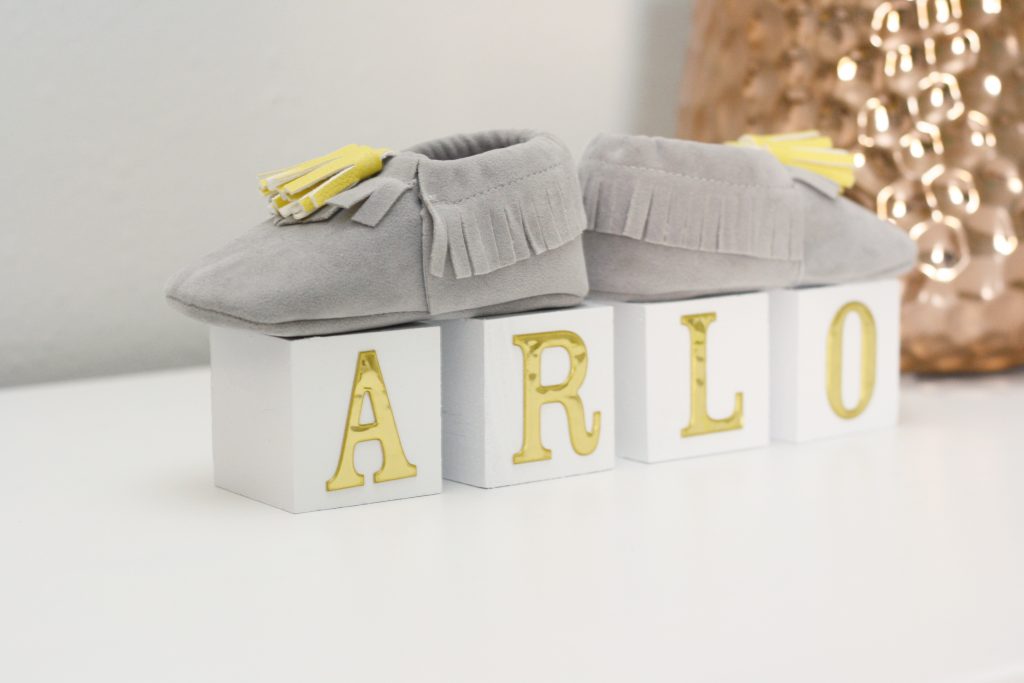
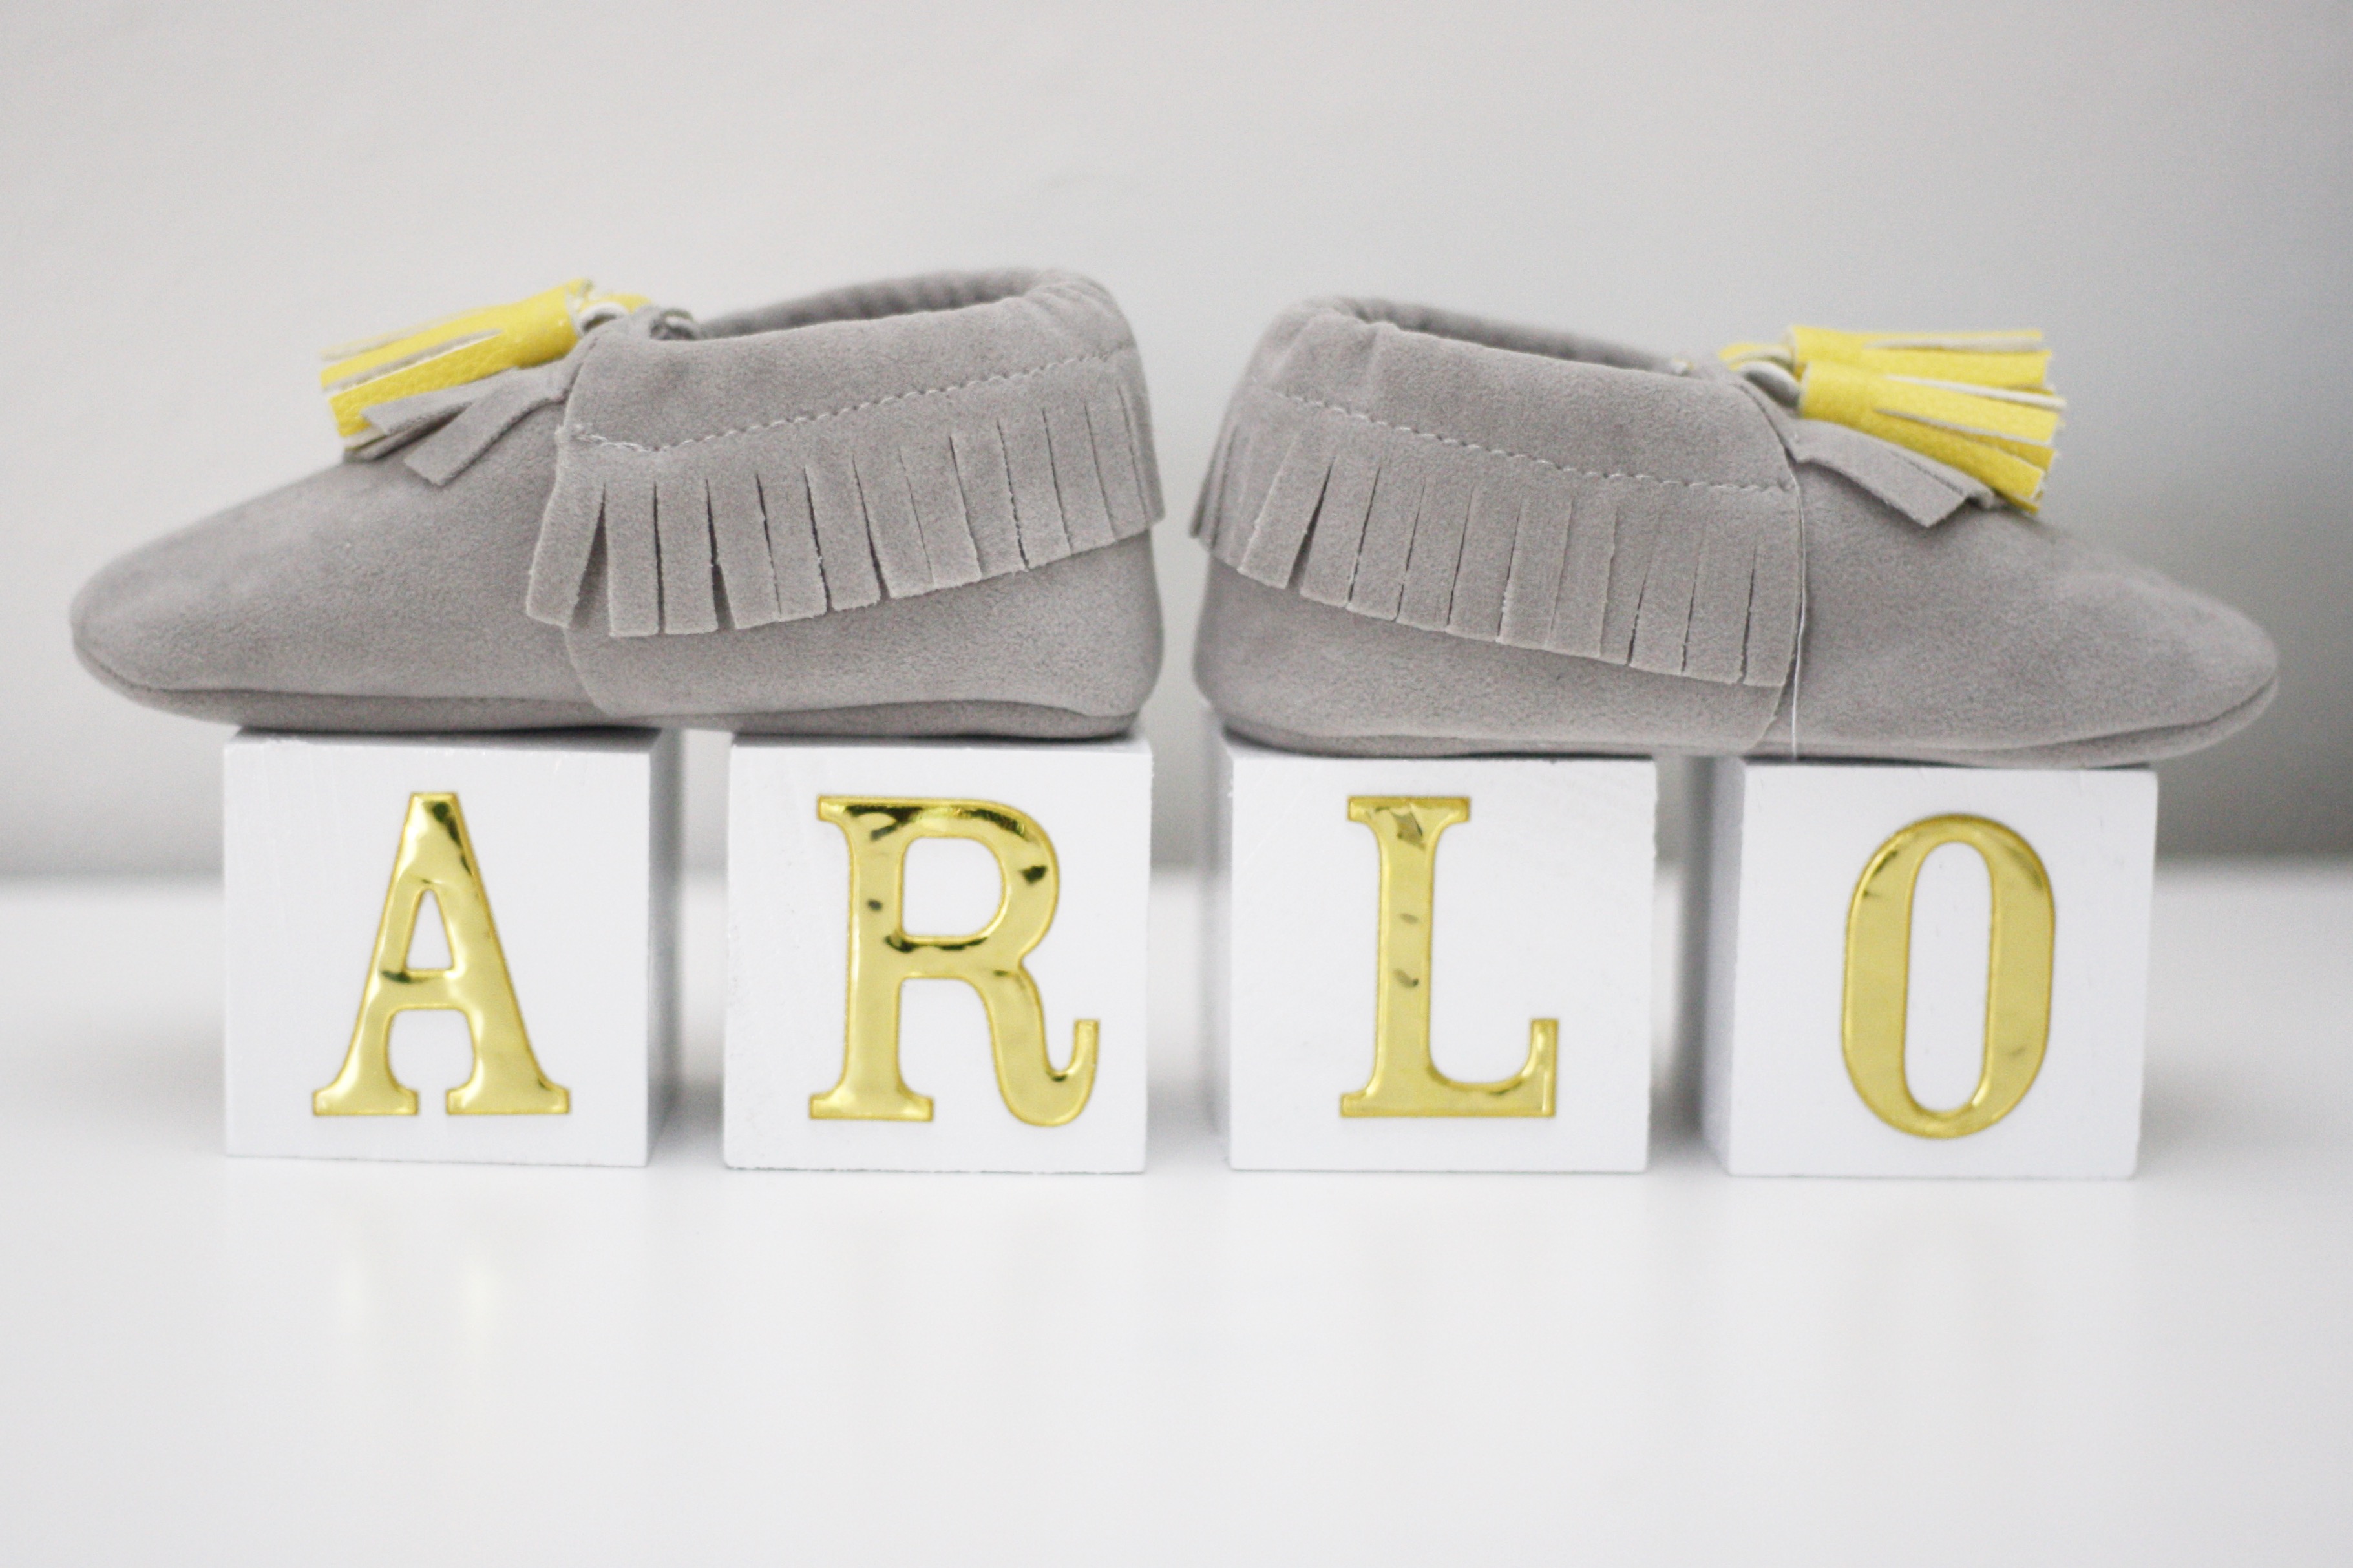
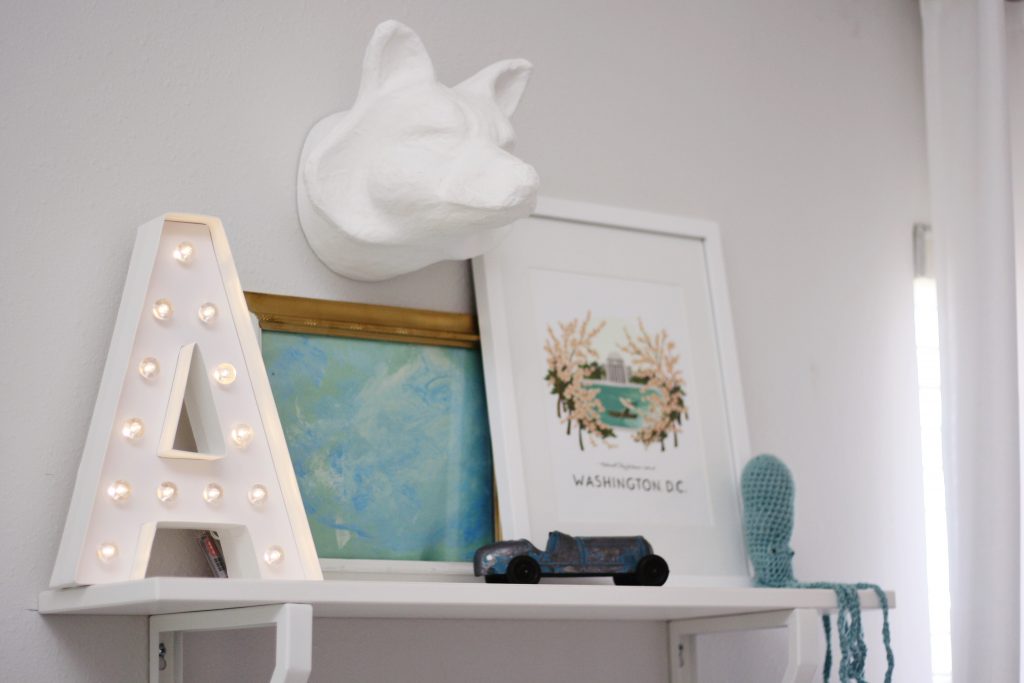
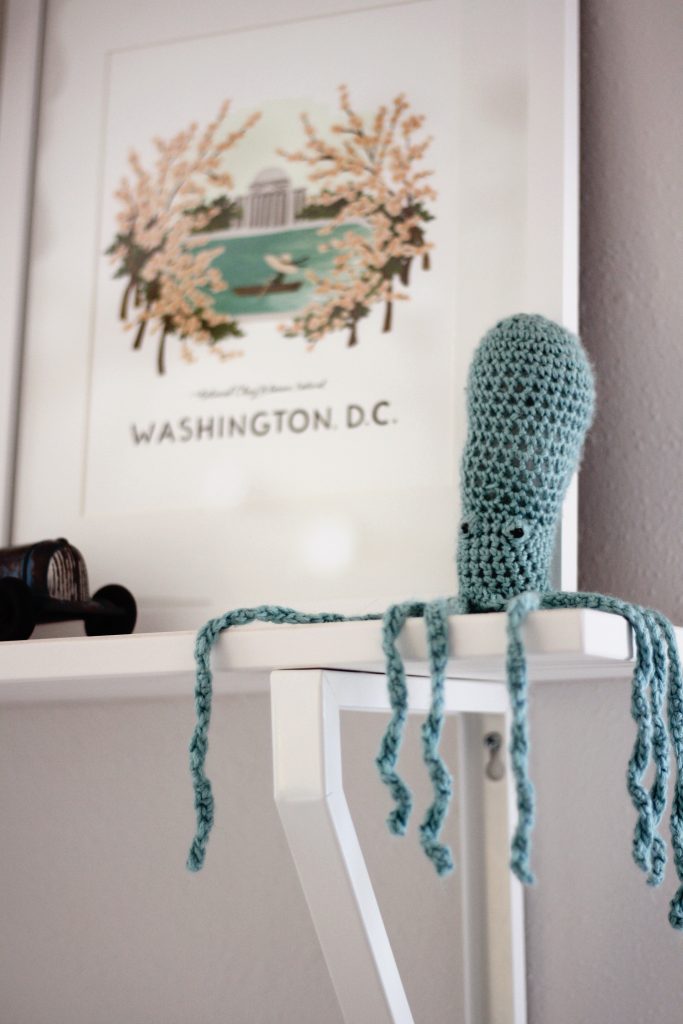
DIY Golden Baby Blocks
Obviously big brother can’t allow a photoshoot to occur without him in it:)
Final week!! We will (hopefully) by the end of next week have some full room shots to show you, along with a very, very lengthy source list. Believe me, with a babe and busy 5 year old, keeping any room photo ready takes a modern miracle to occur. In love with this nursery, and just tickled pink (and blue) to share it!
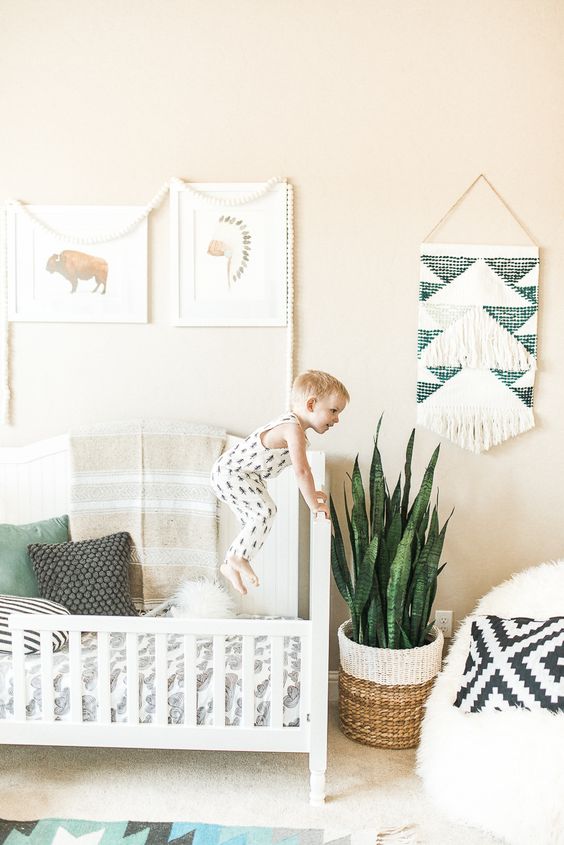
Ahh the magical week 4. This week is a tale of shiplap..which sort of bores me, so to keep my head in the game, I started with a couple of inspiration photos above. Both have elements that I am really digging for a little boys room. The modern southwestern/bohemian vibe (which 10 years ago me would NEVER have been a fan of…oh how our tastes change) is so perfect. The golden side table, macrame, succulents..something tells me a lot of these elements will creep into our final design.
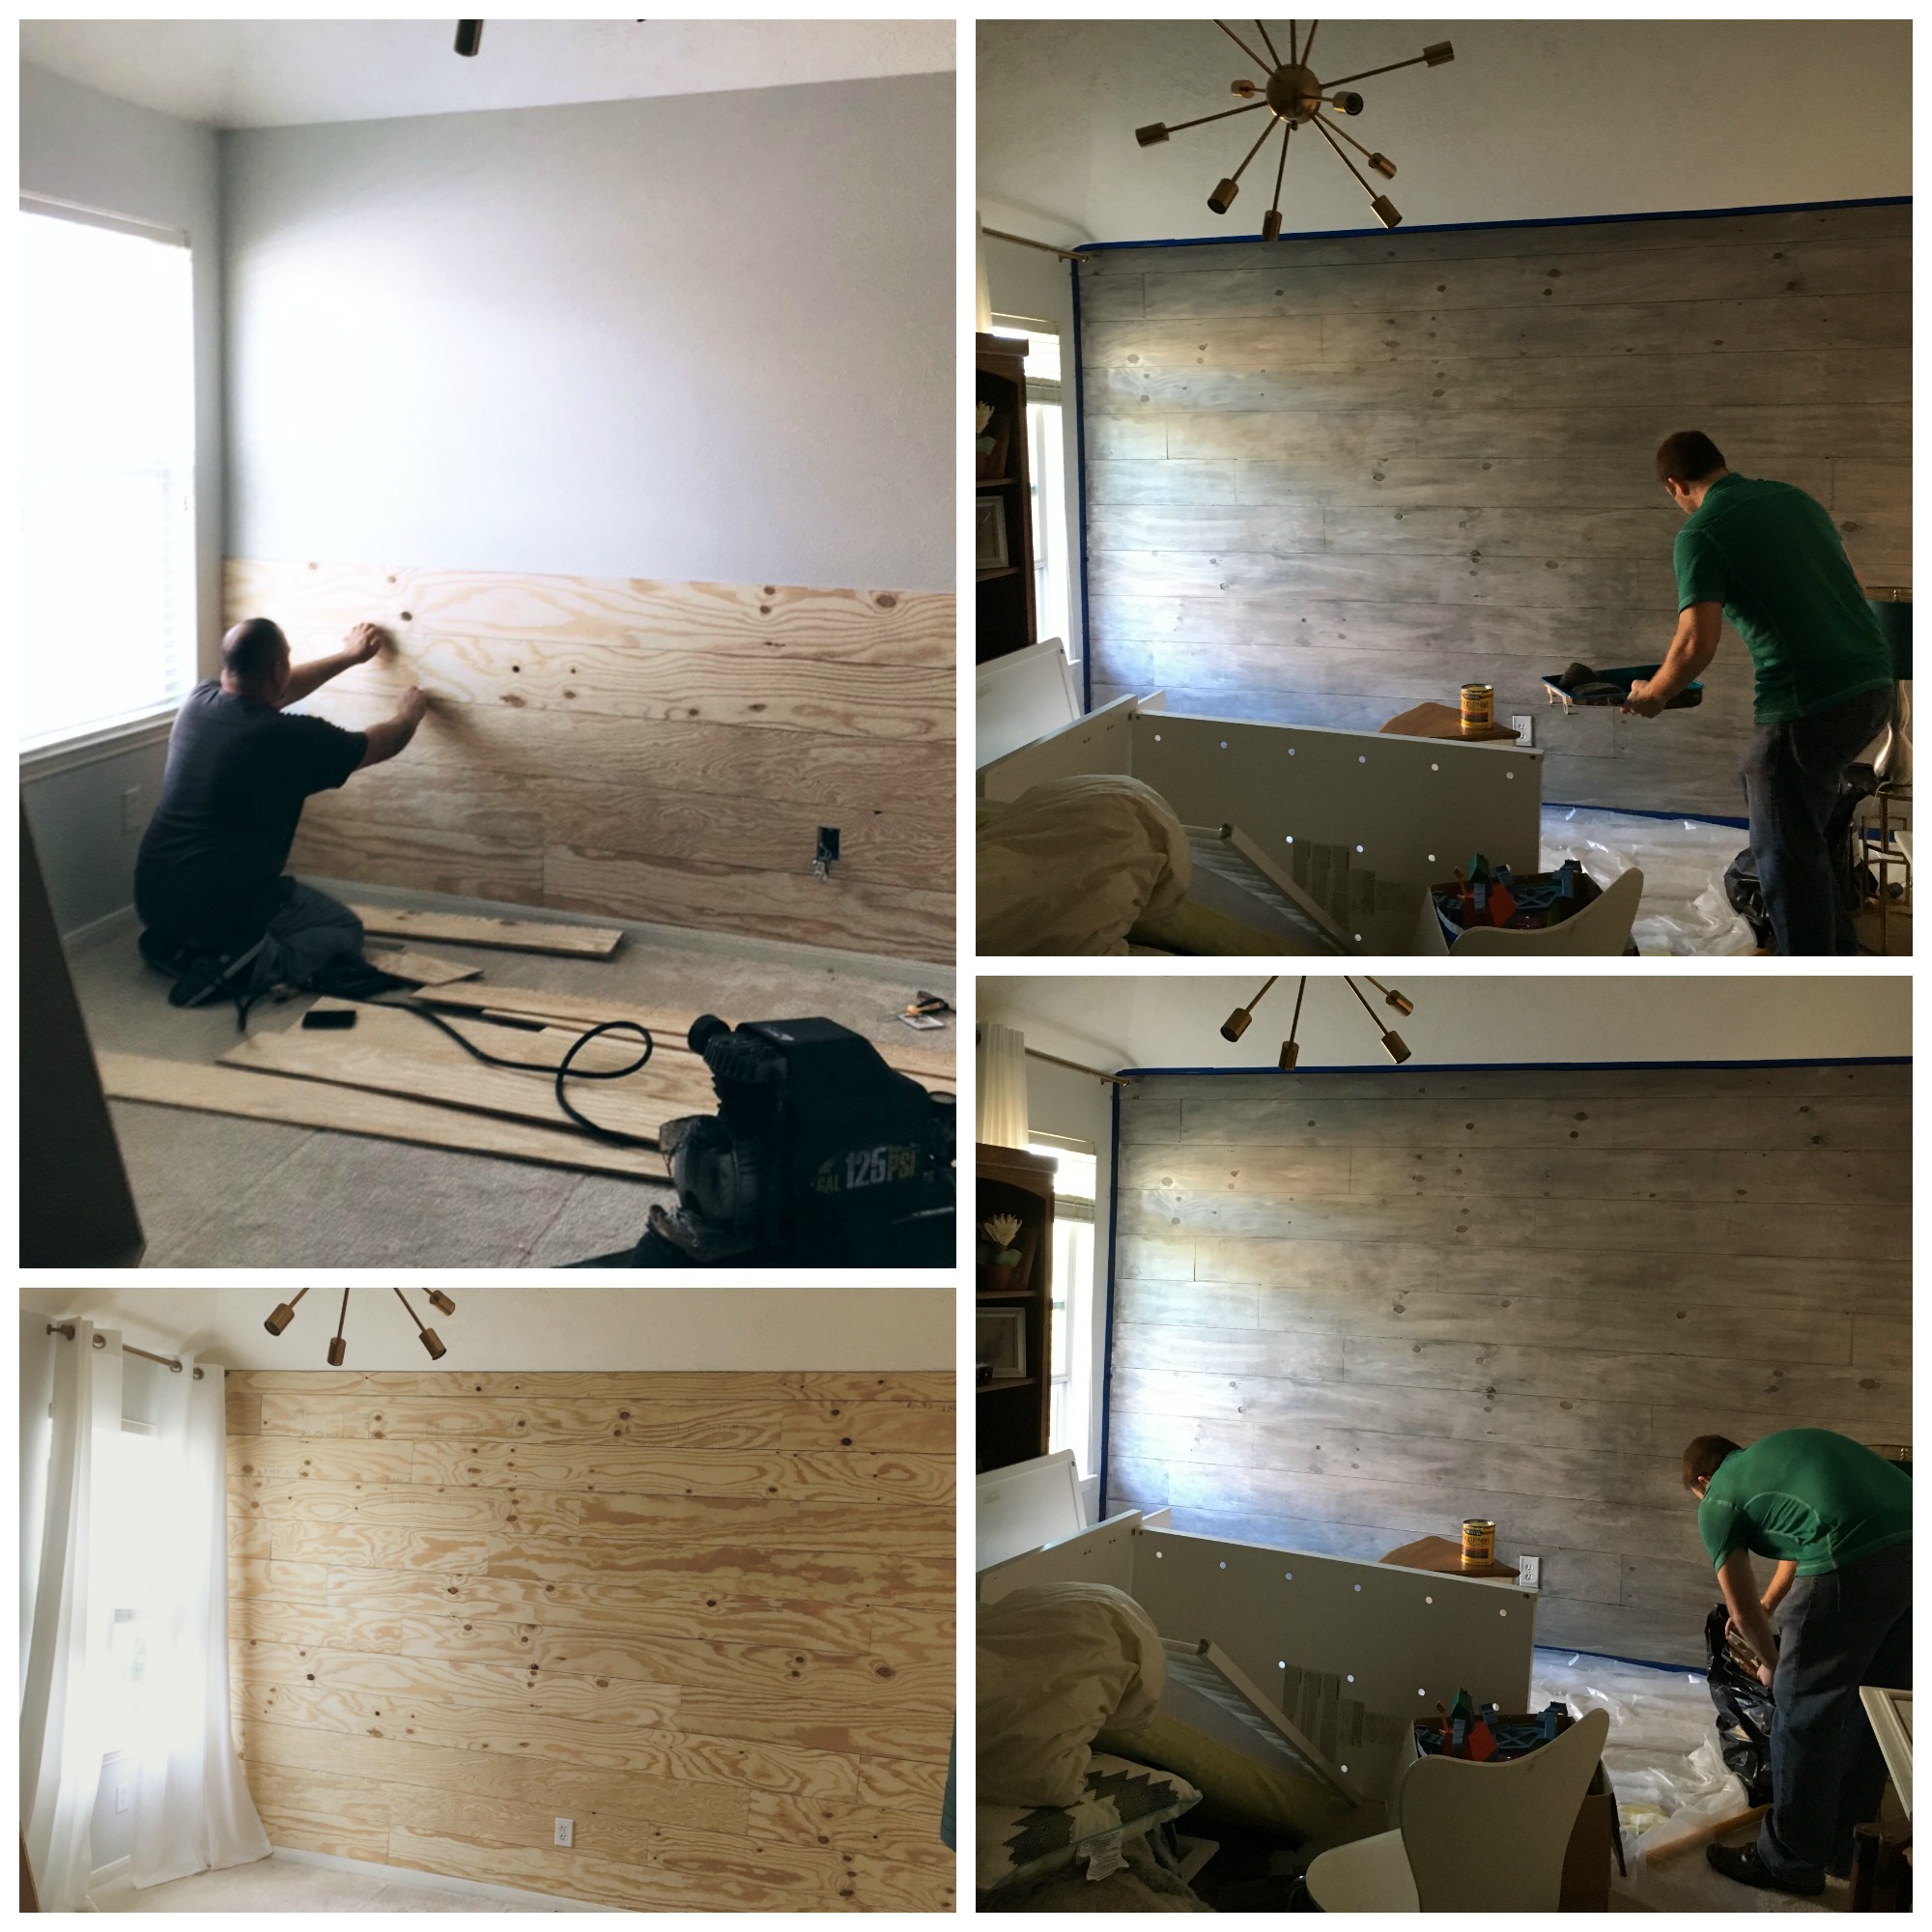
SO SHIPLAP. I could write a novel about shiplap on a budget, but there were several times through the frustration that we almost canned it and paid a professional a lot of money to just handle it. However, we persevered. So I found several DIY shiplap on a budget posts around the interwebs, and used them as our guideline. One thing I knew for sure, I was not going to be the one installing these bad boys, so here’s what we did.
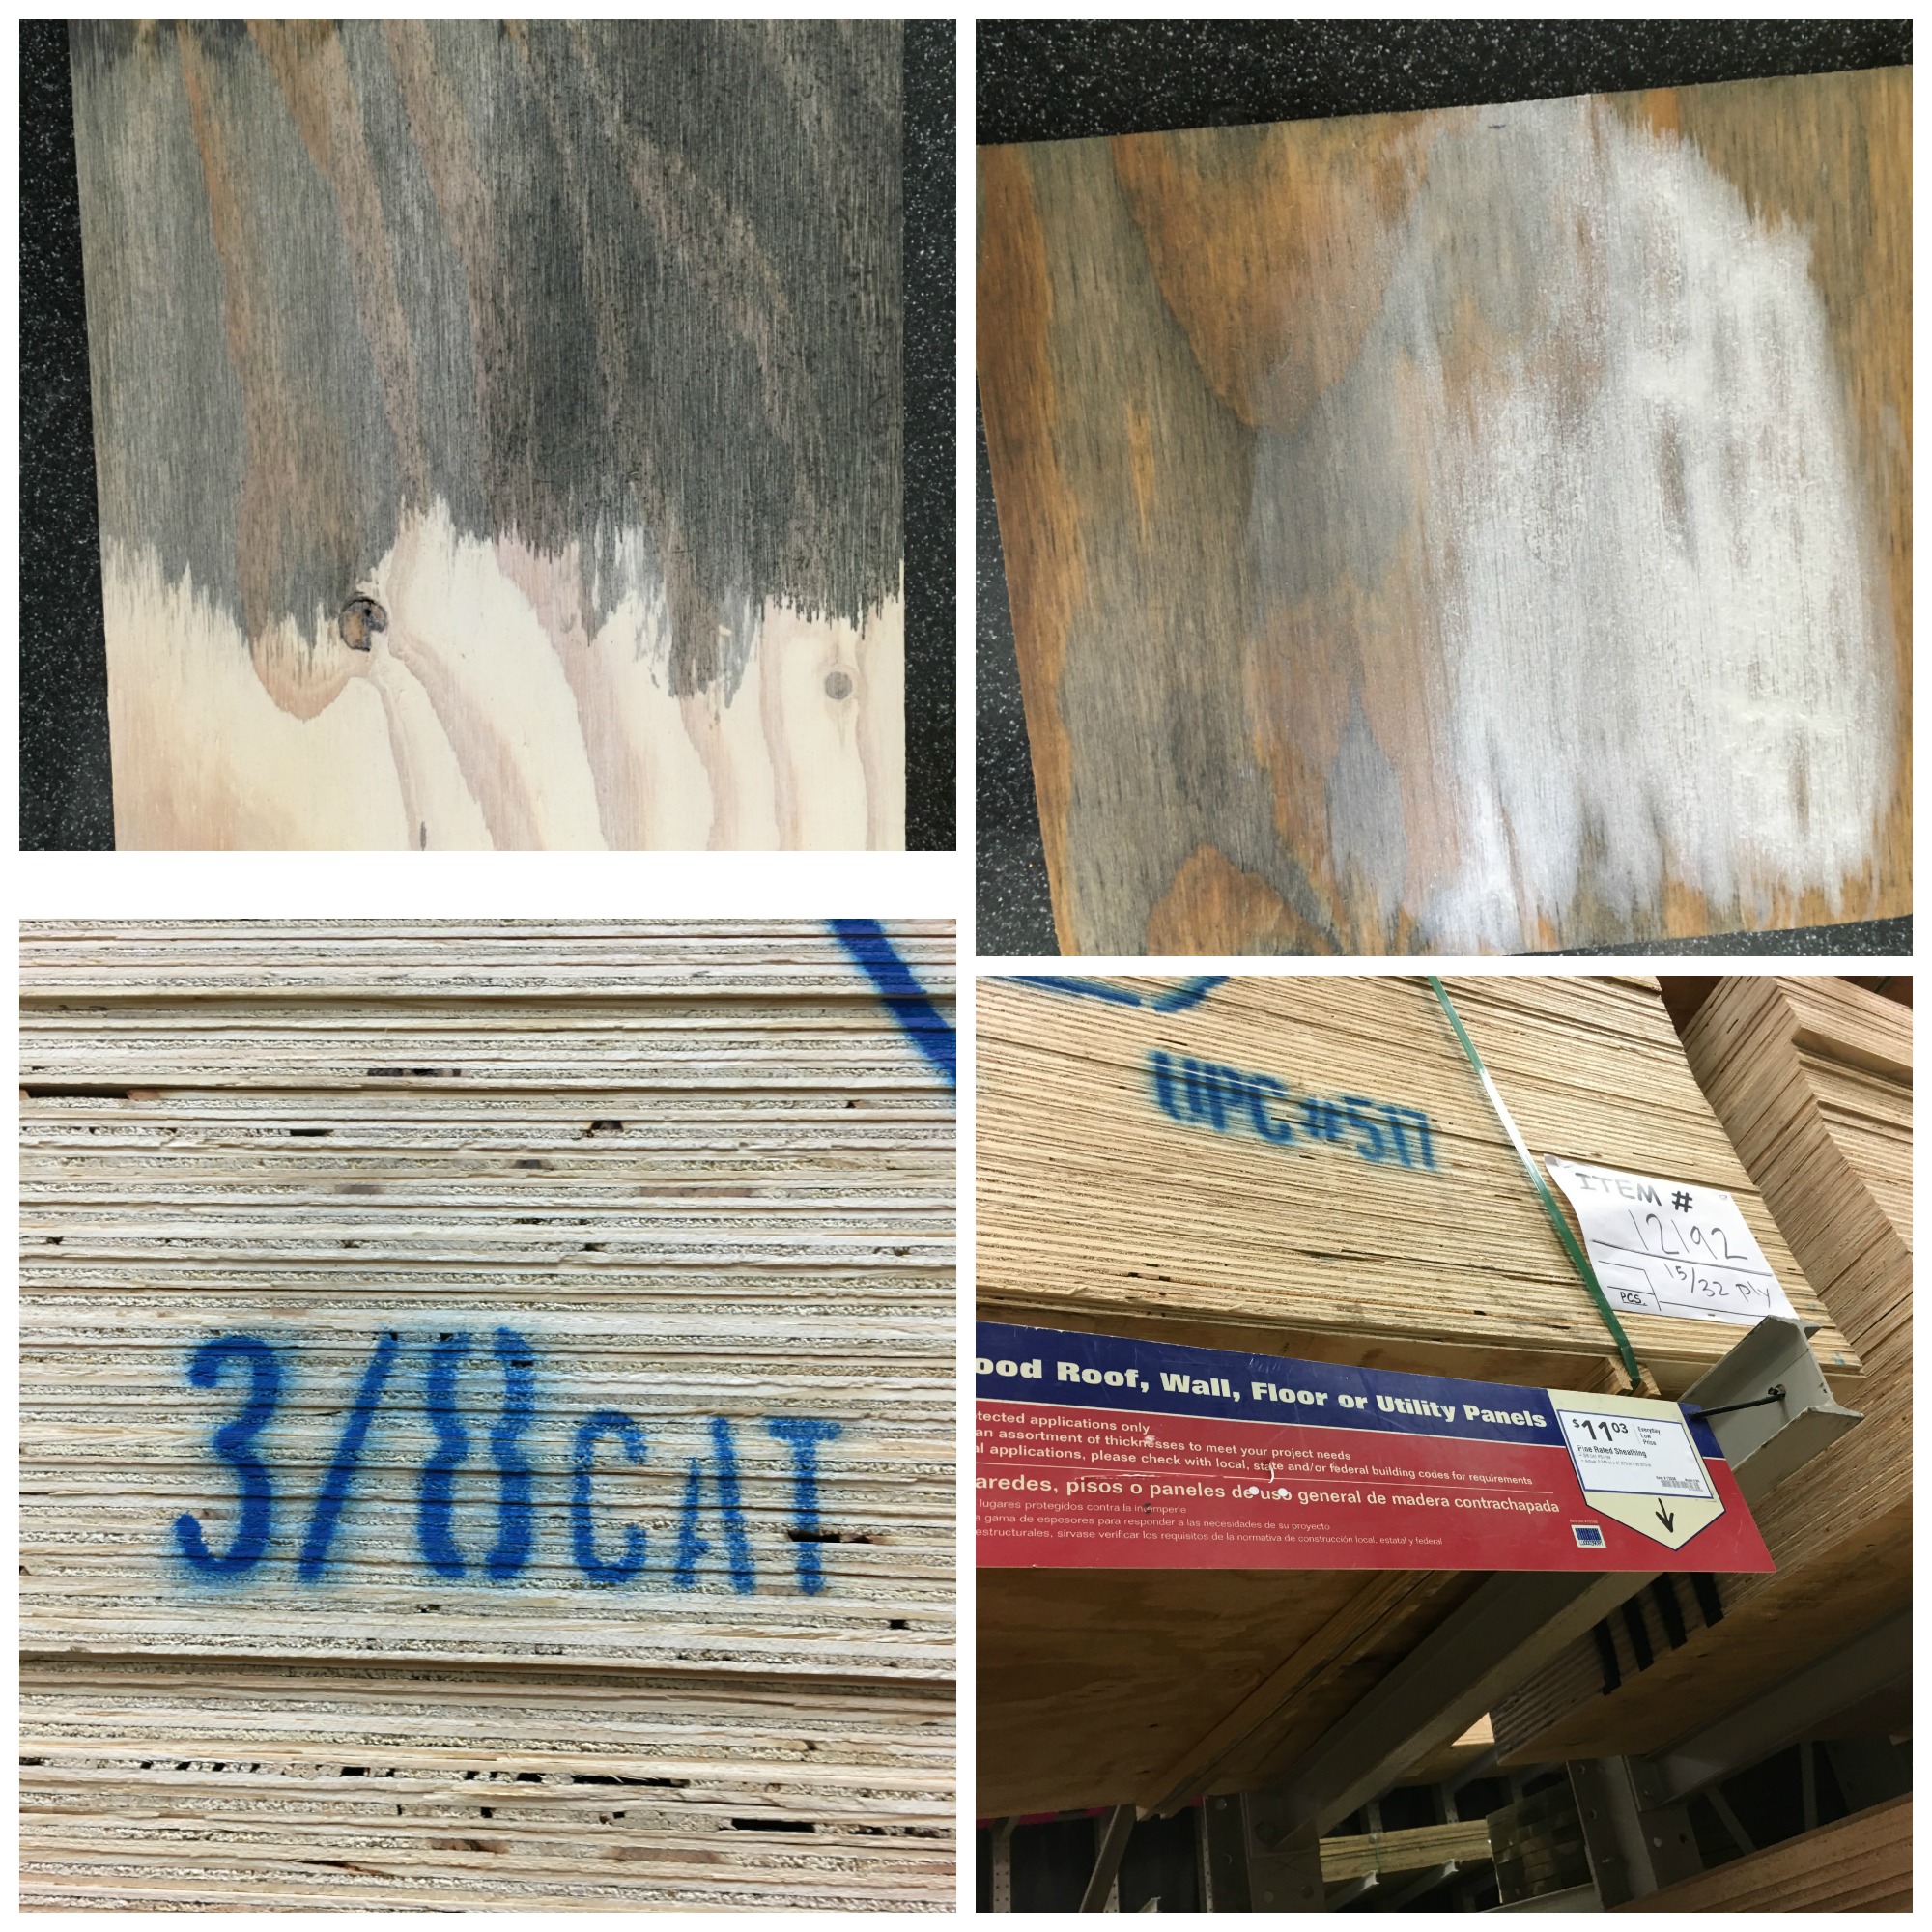
We bought some sheets of 3/8 cat plywood from Lowes that cost around $11 each, so when all was said and done, it cost about $80 for the wood, and had them cut into 6″ strips. I saw all over internet land that people often chose to do thinner 3″ strips, but I wanted to give this a chunkier more rustic look.
Here’s where the fun started. We got home, and realized that the gentleman from Lowes cut all of the pieces crooked…very crooked. Some were 7″ on one end, and 3″ on the other. So I called the store and spoke with a manager who (I hate to say it), was initially USELESS. No matter how many times I told him the situation, he was convinced I was talking about the depth of the wood. Not height, not length, but depth. And he continued to say that they had no control of that. Finally I asked if I could text him photos of what I meant, and he agreed. The process of chatting with the manager, attempting to return the defective pieces, and have new wood cut added about 3 hours to the process. We were SO over it.
Next up, on the plywood sheets, the really yummy knotted side of the wood is considered the crappy (back) side to Lowes. So the side of the wood we wanted to use was full of black stamps with product information. I saw a LOT of sanding in our future.
Alright, time to hand this over to the professional. We had our buddy Jerry from Bossman Contractors come over to take it from here. He sanded off all of the wood, and in less than 2 hours, the plywood was up and ready to roll. I decided that my husband and I would do the staining, but as soon as Jerry left, I immediately regretted not having him do it LOL.
The STAIN – this was a bit of trial and error. I bought a delicious gray stain, and tested it on one of the scraps (see below), and I’m so glad I did. Because the plywood is a pale brown wood color, the gray turned the wood dark brown and light brown..which is NOT what we wanted. We happened to have some white wash left over from another project, so we tried doing 2 coats of white wash, then one light coat of gray stain. VOILA!! The gray of our dreams.
Below you can see Jerry hard at work, and my husband finishing off the staining like a boss.
Next up….
As you see above, the light fixture is installed. Next week we’ll share a video of the “professionals” at work
Moving furniture in
Figuring out the rest of the design. Do most people plan the design ahead of time?? That’s no fun!:)